


Upload a Custom SSL/TLS Certificate on Object Storage
Traducciones al EspañolEstamos traduciendo nuestros guías y tutoriales al Español. Es posible que usted esté viendo una traducción generada automáticamente. Estamos trabajando con traductores profesionales para verificar las traducciones de nuestro sitio web. Este proyecto es un trabajo en curso.
By default, Linode’s Object Storage uses a default TLS certificate for subdomains of linodeobjects.com to encrypt data in transit. In some cases however, it may be more desirable to use your own custom SSL certificate.
Object storage supports the importing of your own TLS/SSL Certificates in order to encrypt connections with your bucket in transit. Currently, you can Upload custom TLS/SSL certificates directly through the Linode Manager, the Linode CLI, and the Linode API.
In this guide, you will learn how to add your own SSL Certificates and Private Keys to Object Storage buckets.
Before you Begin
- Purchase or Create an SSL certificate for a domain you’d like to use to point to your object storage bucket. This certificate must share a common name, SAN, or wildcard SAN which is capable of matching the FQDN of the bucket that will be created in a later step.
Create an Object Storage Bucket
All Object Storage Buckets using an SSL certificate created by a user must match a Fully Qualified Domain Name under the user’s control. For example, if you will be using an SSL certificate for test.example.com, the bucket name should also be test.example.com Otherwise, this process is the same as the creation of any other bucket.
The Cloud Manager provides a web interface for creating buckets. To create a bucket:
If you have not already, log into the Linode Cloud Manager.
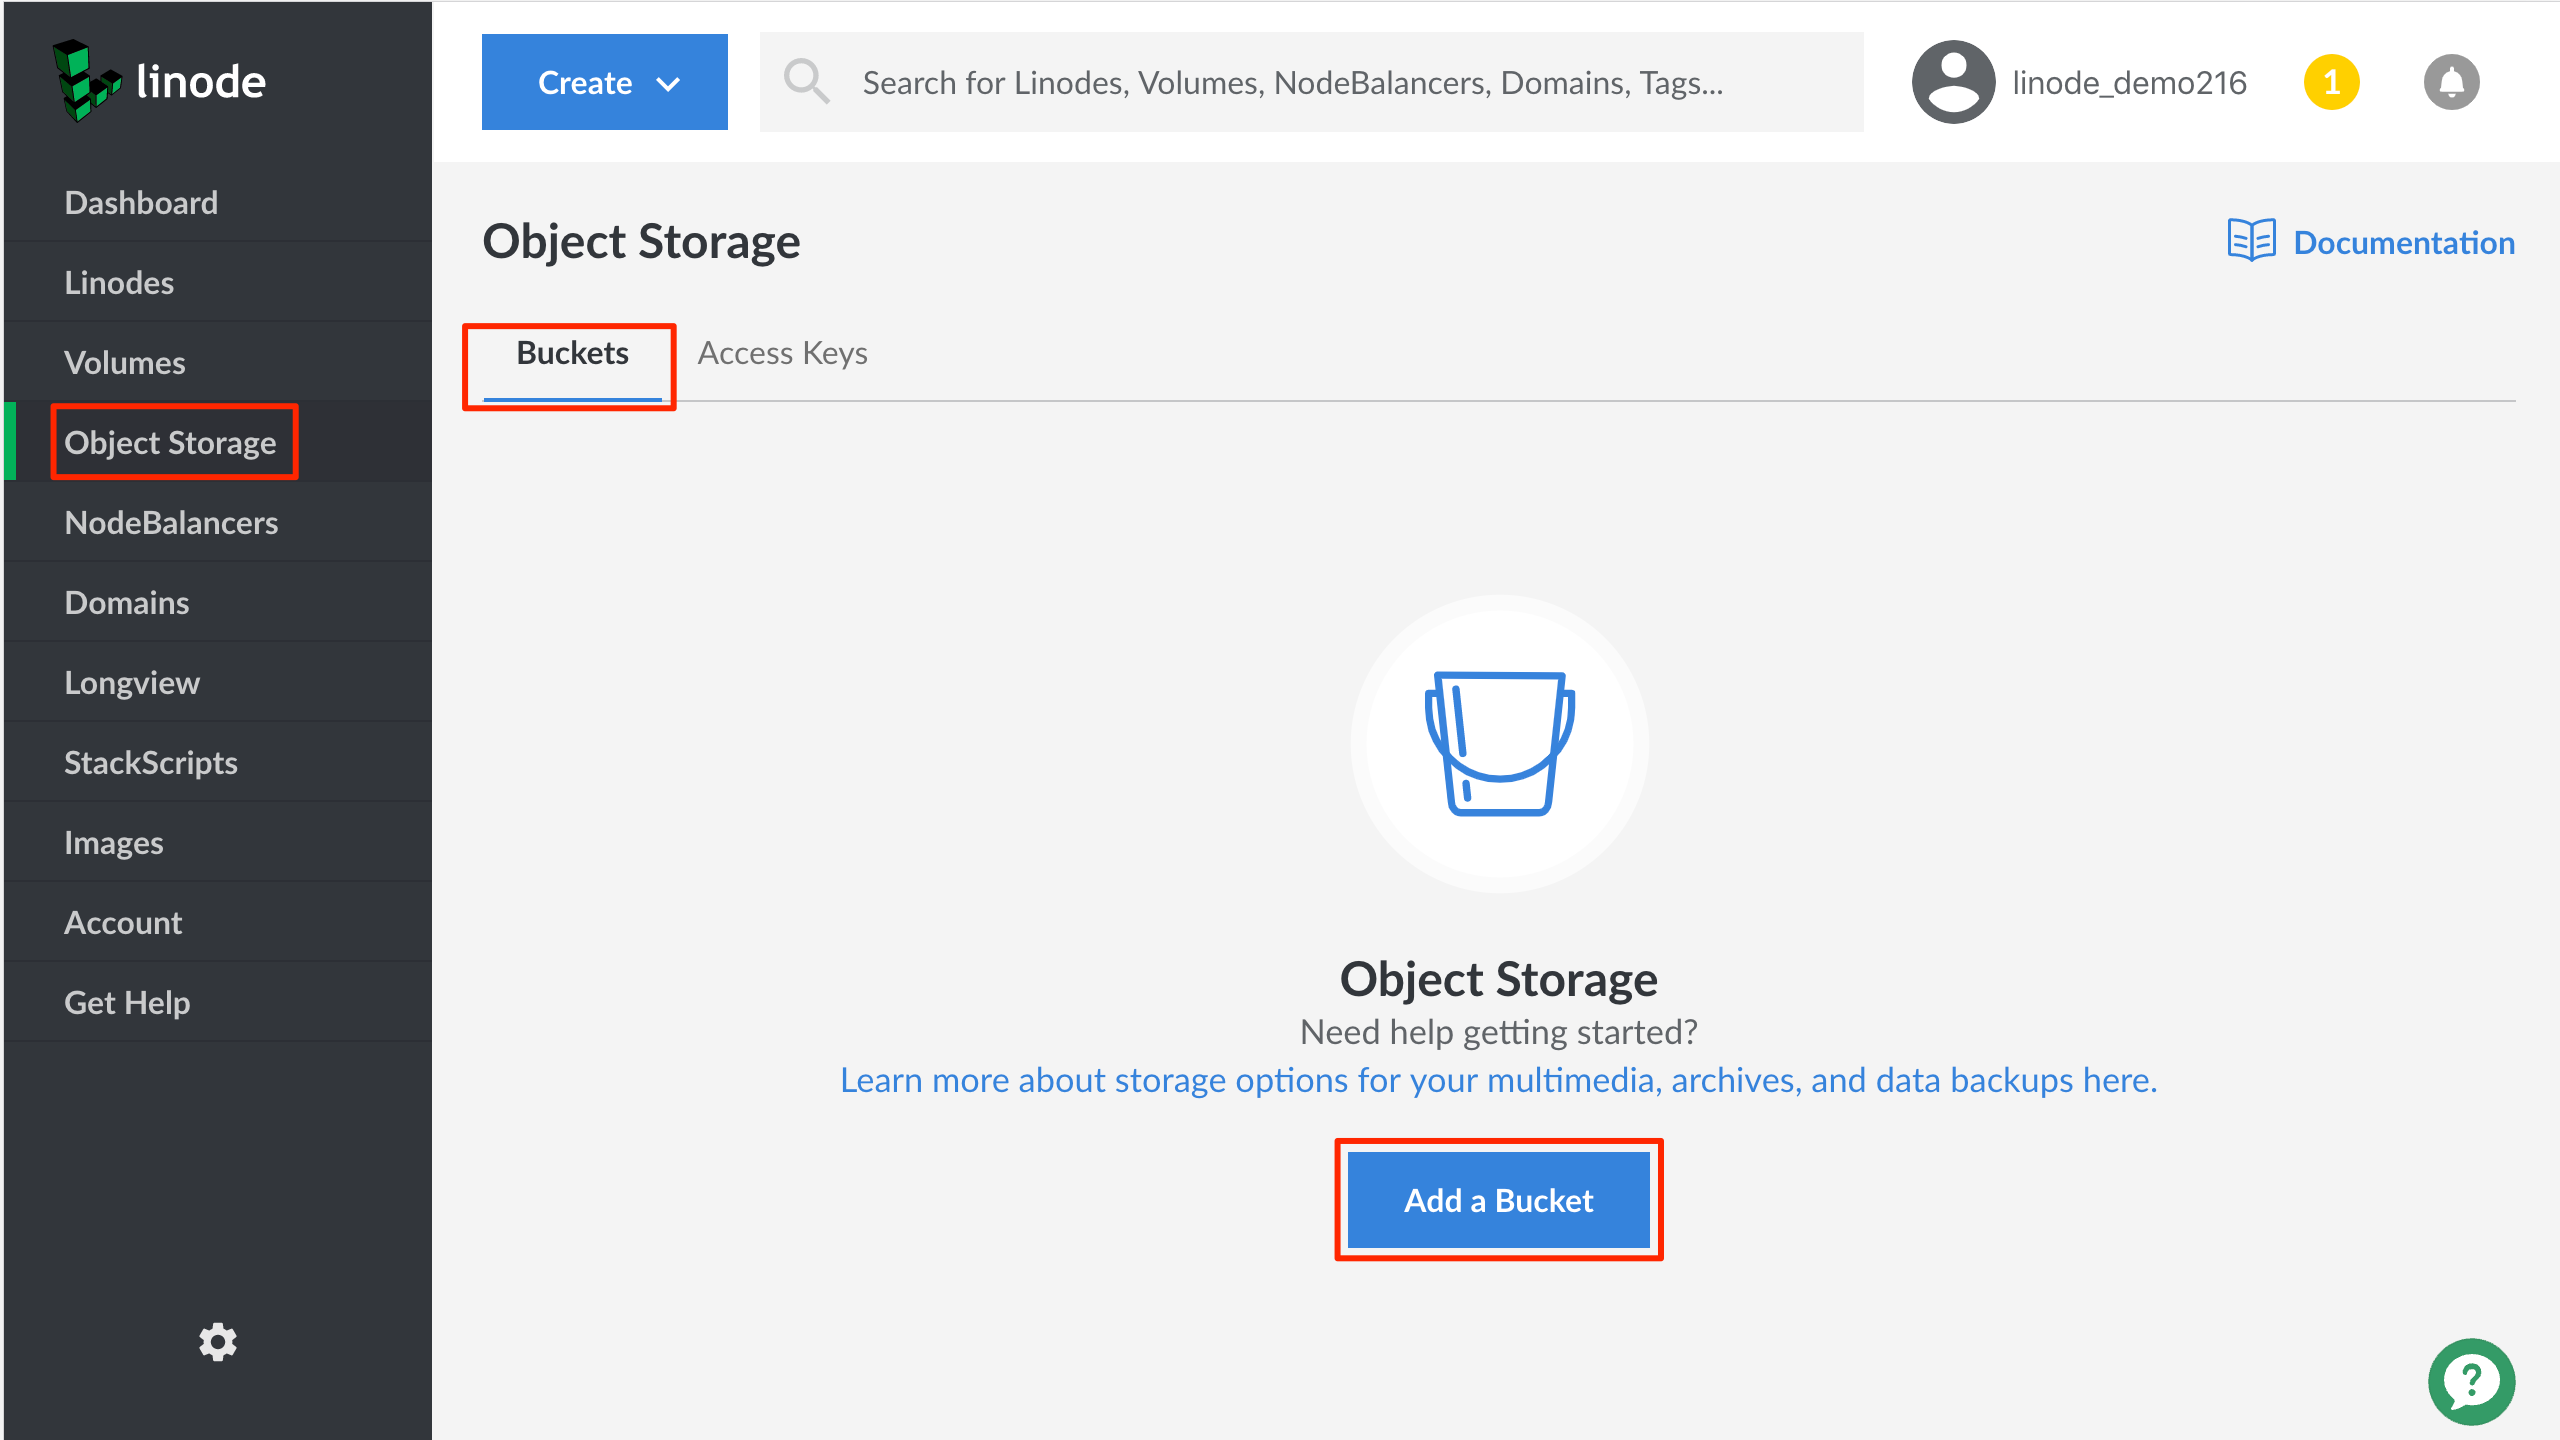
Click the Object Storage link in the sidebar, and then click Add a Bucket.


If you have not created an access key or a bucket before, you are prompted to enable Object Storage.
The Create a Bucket menu appears.


Add a label for the bucket. See the Bucket Name section for rules on naming the bucket.
Choose a region (cluster) for the bucket to reside in. See the Availability section on the Object Storage Overview page for a list of available regions.
Note
A cluster is defined as all buckets hosted by a unique URL; for example:us-east-1.linodeobjects.com,ap-south-1.linodeobjects.com, oreu-central-1.linodeobjects.com.Click Submit. You are now ready to upload objects to the bucket.

Configure DNS
It is recommended that CNAME records are used in order to give you control of the domains that will require the use of custom SSL certificates. For example, to enable an SSL certificate for the bucket test.example.com hosting a static site in the us-east-1.linodeobjects.com cluster location, you would point the CNAME record to test.example.com.website-us-east-1.linodeobjects.com. For more information on DNS records and CNAME records, see our
Introduction to DNS Records guide.
Upload Your SSL Certificate
To upload your new SSL certificate to an Object Storage Bucket:
If you have not already, log into the Linode Cloud Manager.
Click the Object Storage link in the sidebar, followed by the Bucket you’d like to add your SSL certificate to.
Near the top of the following page, select the
SSL/TLStab to open the SSL configuration menu.

In the
Certificatefield, enter the contents of the certificate file affiliated with the SSL certificate. In thePrivate Keyfield, enter the contents of the private key file affiliated with the SSL certificate.Once both fields have been filled out with the requested information, click on the
Upload Certificatebutton to complete the upload of your SSL certificate.

Once all steps are completed, your personal SSL certificate will now be used in place of the certificate provided by default.
More Information
You may wish to consult the following resources for additional information on this topic. While these are provided in the hope that they will be useful, please note that we cannot vouch for the accuracy or timeliness of externally hosted materials.
This page was originally published on