


Deploying GitLab through the Linode Marketplace
Traducciones al EspañolEstamos traduciendo nuestros guías y tutoriales al Español. Es posible que usted esté viendo una traducción generada automáticamente. Estamos trabajando con traductores profesionales para verificar las traducciones de nuestro sitio web. Este proyecto es un trabajo en curso.
GitLab is a complete solution for all aspects of your software development. At its core, GitLab serves as your centralized remote Git repository. GitLab also features built-in tools that represent every task in your development workflow, from planning to testing to releasing.
Self-hosting your software development with GitLab offers total control of your codebase. At the same time, its familiar interface will ease collaboration for you and your team. GitLab is the most popular self-hosted Git repository software, so you’ll benefit from a robust set of integrated tools and an active community.
Deploying the GitLab Marketplace App
The Linode Marketplace allows you to easily deploy software on a Linode using the Linode Cloud Manager.
Log in to the Cloud Manager and select the Marketplace link from the left navigation menu. This displays the Linode Compute Create page with the Marketplace tab pre-selected.
Under the Select App section, select the app you would like to deploy.
Fill out all required Options for the selected app as well as any desired Advanced Options (which are optional). See the Configuration Options section for details.
Complete the rest of the form as discussed within the Getting Started > Create a Linode.
Click the Create Linode button. Once the Linode has provisioned and has fully powered on, wait for the software installation to complete. If the Linode is powered off or restarted before this time, the software installation will likely fail. To determine if the installation has completed, open the Linode’s Lish console and wait for the system login prompt to appear.
Follow the instructions within the Getting Started After Deployment section.
Software installation should complete within 3-7 minutes after the Linode has finished provisioning.
Configuration Options
GitLab Options
Here are the additional options available for this Marketplace App:
- Domain (optional): Your GitLab site’s domain name. This domain will also be used by Postfix to send mail. Setting a value for this field will not automatically set up DNS for your app, so be sure to follow the DNS instructions in the
Access your GitLab Site section. If you do not have a domain name, you can leave this field blank and Postfix will use your Linode’s default Reverse DNS to send email instead (i.e.
gitlab@l203-0-113-0.ip.linodeusercontent.com).
General Options
For advice on filling out the remaining options on the Create a Linode form, see Getting Started > Create a Linode. That said, some options may be limited or recommended based on this Marketplace App:
- Supported distributions: Debian 9
- Recommended minimum plan: 8GB Dedicated CPU Compute Instance
Getting Started after Deployment
Access your GitLab Site
After GitLab has finished installing, you will be able to access your GitLab site over http:// with your Linode’s IPv4 address or the domain name entered when deploying your GitLab Marketplace App.
Access your GitLab instance:
With your Linode’s IP Address
You will be able to access your GitLab site by copying your Linode’s IPv4 address and entering it in the browser of your choice. To find your Linode’s IPv4 address:
Click on the Linodes link in the sidebar. You will see a list of all your Linodes.
Find the Linode you just created when deploying your app and select it.
Navigate to the Networking tab.
Your IPv4 address will be listed under the Address column in the IPv4 table.
Copy and paste the IPv4 address into a browser window. Ensure you are using
http://.
With a Domain Name
If you deployed your GitLab Marketplace App with a value set for the Domain field, you will need to separately set up DNS for your app. Specifically, you’ll need to create an A record associated with the IPv4 address for your Linode. Review the DNS Manager guide for instructions on setting up DNS records.
Once your DNS records are created (and the changes have propagated to your internet service provider), you can then enter the domain name in a browser window to access your GitLab site. Ensure you are using
http://when visiting your site.Note
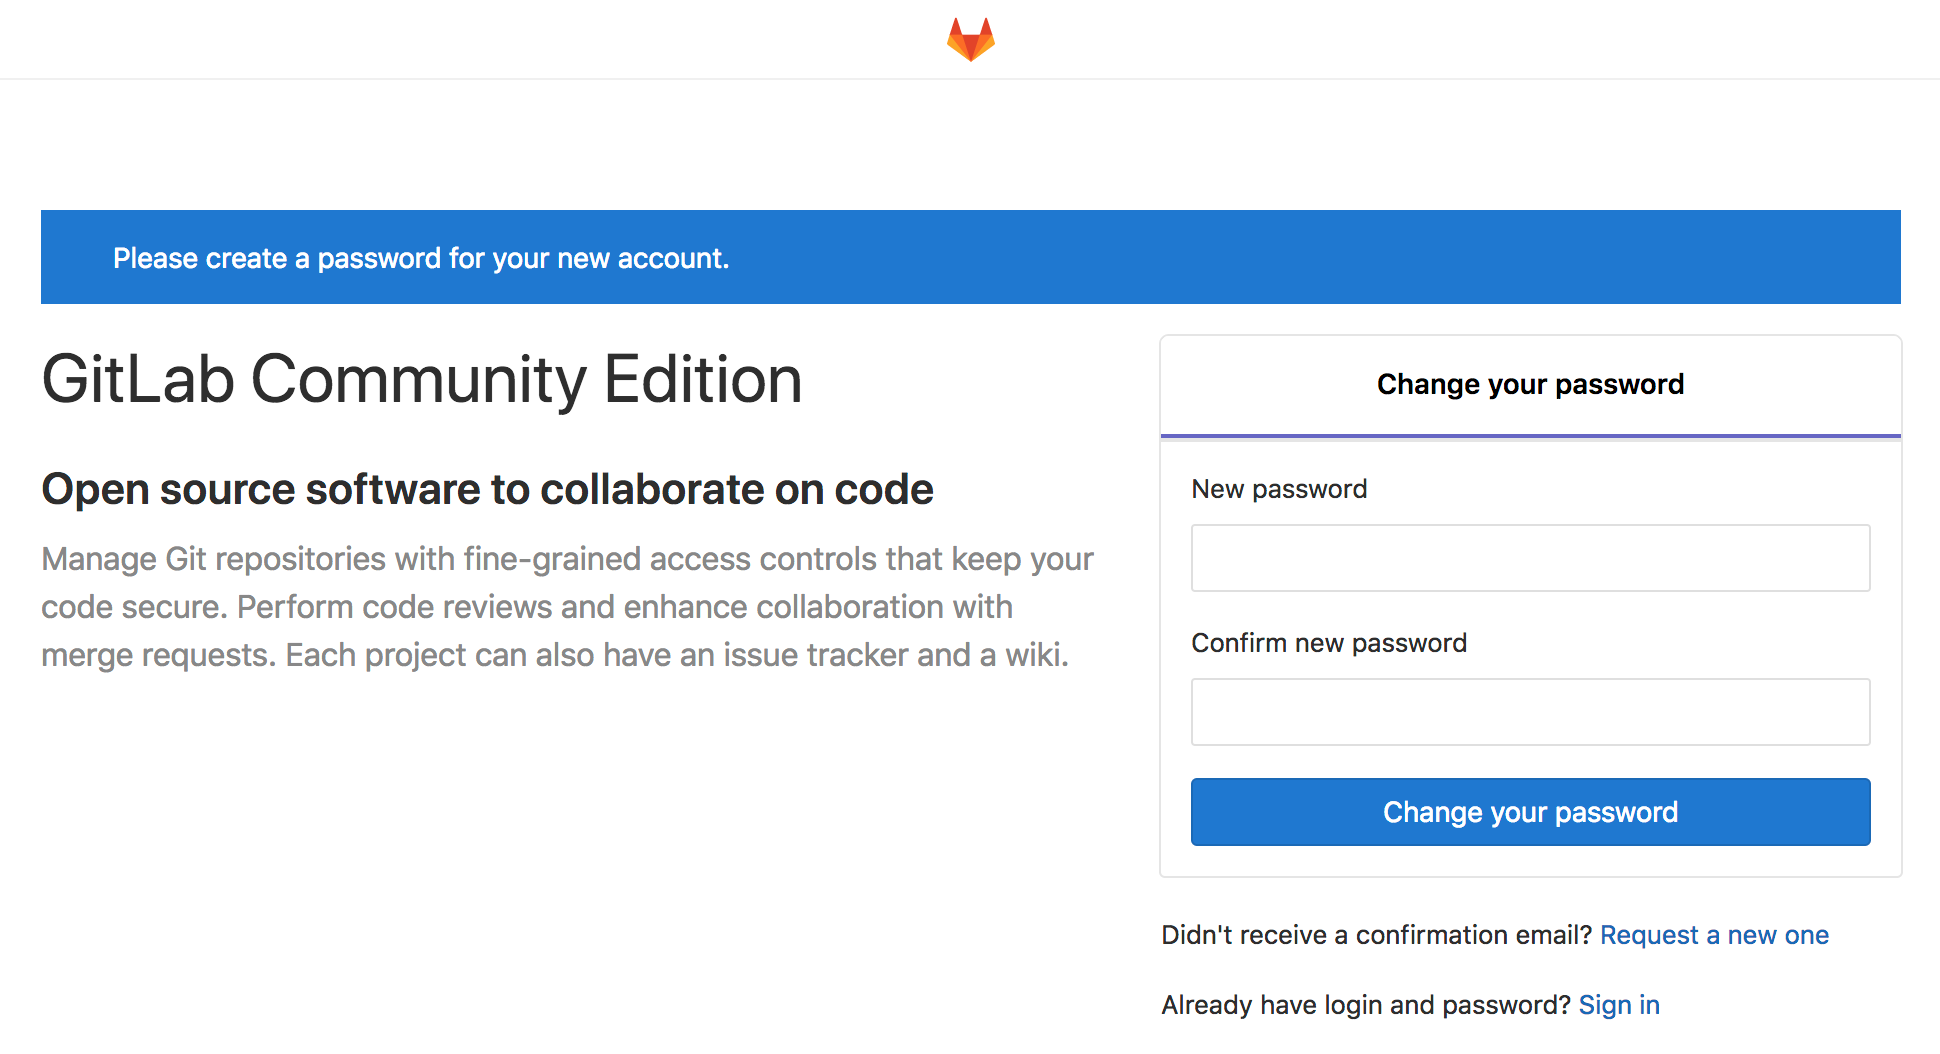
For more general information about how DNS works, review the DNS Records: An Introduction guide.Once you have accessed your GitLab site, you will be brought to GitLab’s password reset screen. Provide a secure password for the administrator’s account:


You will be redirected to the login screen. Enter
rootas the username and the password you just created to log in. You can now begin creating GitLab repositories, users, and more. See GitLab’s official documentation for more information.
Add a Domain after Deploying your GitLab Instance
If you configured your GitLab Marketplace App without providing a domain, you can configure one after the app has been deployed. Begin by setting up DNS for your domain:
Create an A record associated with the IPv4 address for your Linode. Review the DNS Manager guide for instructions on setting up DNS records.
Wait for your new DNS records to propagate to your internet service provider.
After setting up DNS, you will need to update your GitLab instance’s /etc/gitlab/gitlab.rb file with your domain name. This will ensure that any emails sent to users by the GitLab instance will use your site’s domain.
With a text editor of your choice ( nano, for example), open the
/etc/gitlab/gitlab.rbfile and modify the value ofexternal_url. Ensure you replacehttp://example.comwith your domain:- File: /etc/gitlab/gitlab.rb
1 2 3 4 5## GitLab URL ##! URL on which GitLab will be reachable. ##! For more details on configuring external_url see: ##! https://docs.gitlab.com/omnibus/settings/configuration.html#configuring-the-external-url-for-gitlab external_url 'http://example.com'
Issue the following command to enable your new configuration:
gitlab-ctl reconfigureNavigate to the domain in a browser window and verify that you are directed to your GitLab instance.
Software Included
The GitLab Marketplace App installs the following required software on your Linode:
| Software | Description |
|---|---|
| GitLab | Remote Git repository software. |
| Postfix | Postfix is a free and open-source mail transfer agent that routes and delivers electronic mail. |
| UFW | Firewall utility. Ports 22/tcp, 80/tcp, 443/tcp, 25, 587, and 110 for IPv4 and IPv6 will allow outgoing and incoming traffic. |
| Fail2ban | Fail2Ban is an intrusion prevention software framework that protects computer servers from brute-force attacks. |
NoteCurrently, Linode does not manage software and systems updates for Marketplace Apps. It is up to the user to perform routine maintenance on software deployed in this fashion.
More Information
You may wish to consult the following resources for additional information on this topic. While these are provided in the hope that they will be useful, please note that we cannot vouch for the accuracy or timeliness of externally hosted materials.
This page was originally published on